TXShell: A shell for your Nvidia Jetson TX1/TX2 Developer Kits
Available at:
- Amazon.com : Please reviews to let us know how do you feel, we do value them.
- Wish.com: Keywords: TXShell
1. Features
- Evolving design for mobility, practicality and reliability
- current version is 6th
- Selected Materials:
- thickened (5mm) plates made with high quality acrylic
- copper cylinders
- 304 stainless steel for fasteners
- Supports:
- stack at least 8 shells vertically
- flexible 2.5 inch hard driver installation with direct plug-in support
2. Package contents
Each pack of TXShell includes:
- Fasteners: 8- x
M4 screws; 8 xM4 washers; 4 xlong cylinders; 4 xshort cylinders - Plates: 1 x
top plate; 1 xbottom plate; 4 xEVA rubber mats - Add-ons: 4 x
M3 screws; 4 xM3 washers; 1 xSATA cable
There are only two sizes of screws/washers, simply, M4 ones are bigger/wider/longer than M3 ones.
Tearing the grass paper covers on the plates off before assembly. They are for protection and may be scratched during the delivery.
The cable is an integrated (power + data) 15cm male-female one, for 2.5 inch hard drivers.
3. How to assemble
There are 3 simple steps to assemble the shell.
Keep in mind the following 2 simple rules during the assembly:
- for each plate, always ensure its side with carves facing the developer kit
- alway place a washer between the kit/a driver and a cylinder
In the end, it should looks like:

Let’s begain !
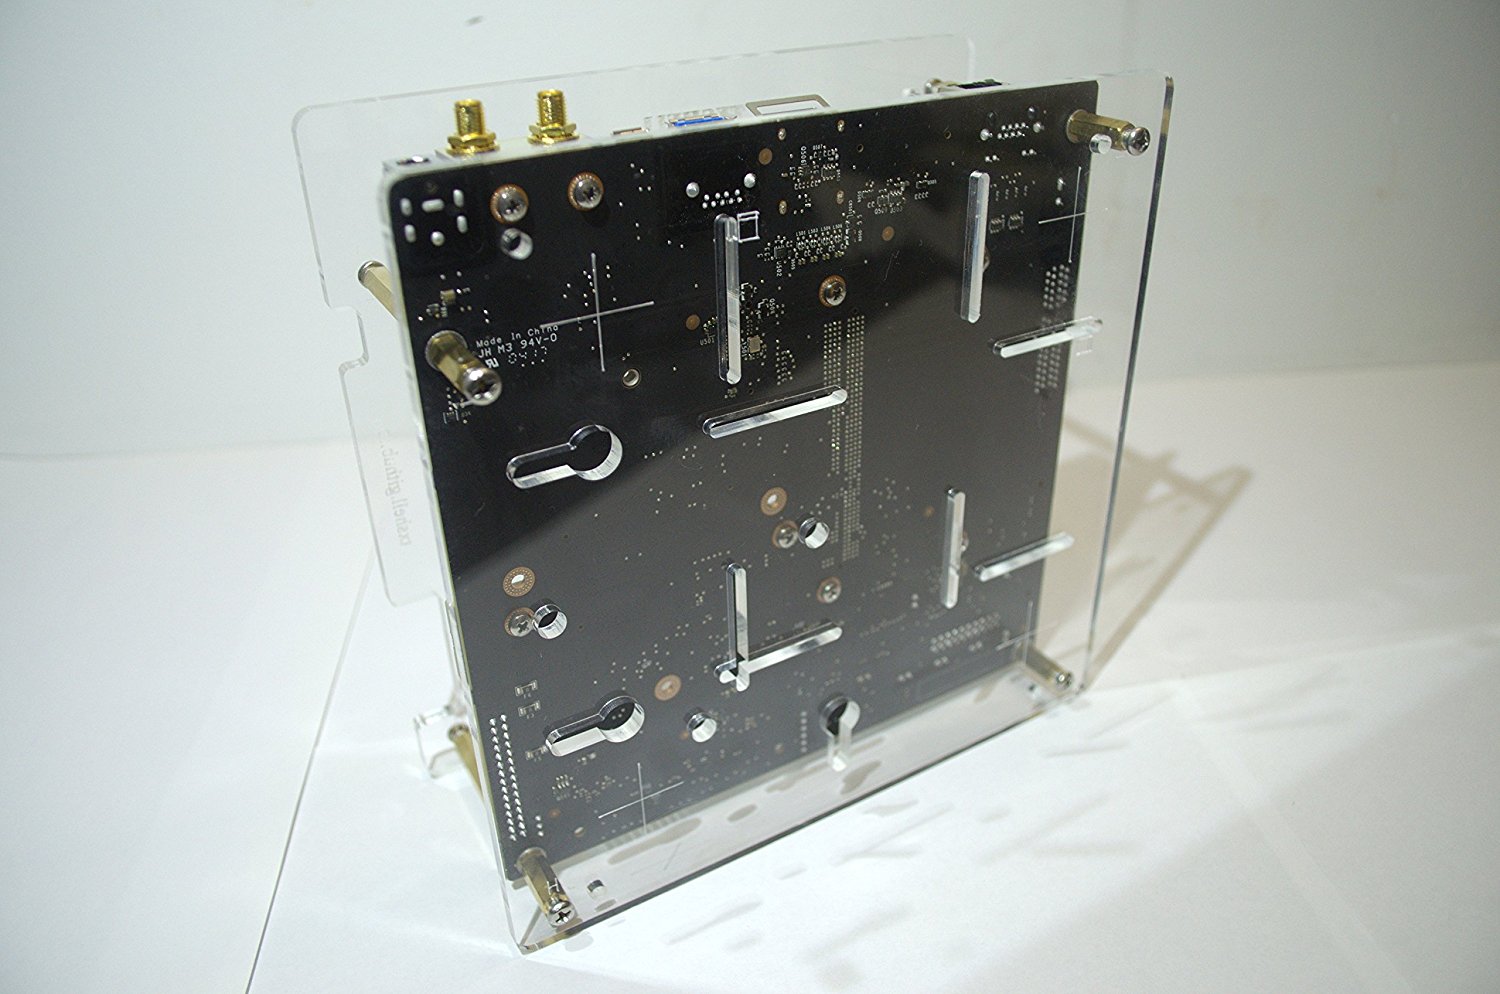
3.1 bottom plate
See Install Drivers first if you want to install a driver
Now, through the corner holes marked with underlines in the bottom plate,
connecting M4 screws -> bottom plate -> short cylinders -> M4 washers -> the kit from the bottom up.
You should get:
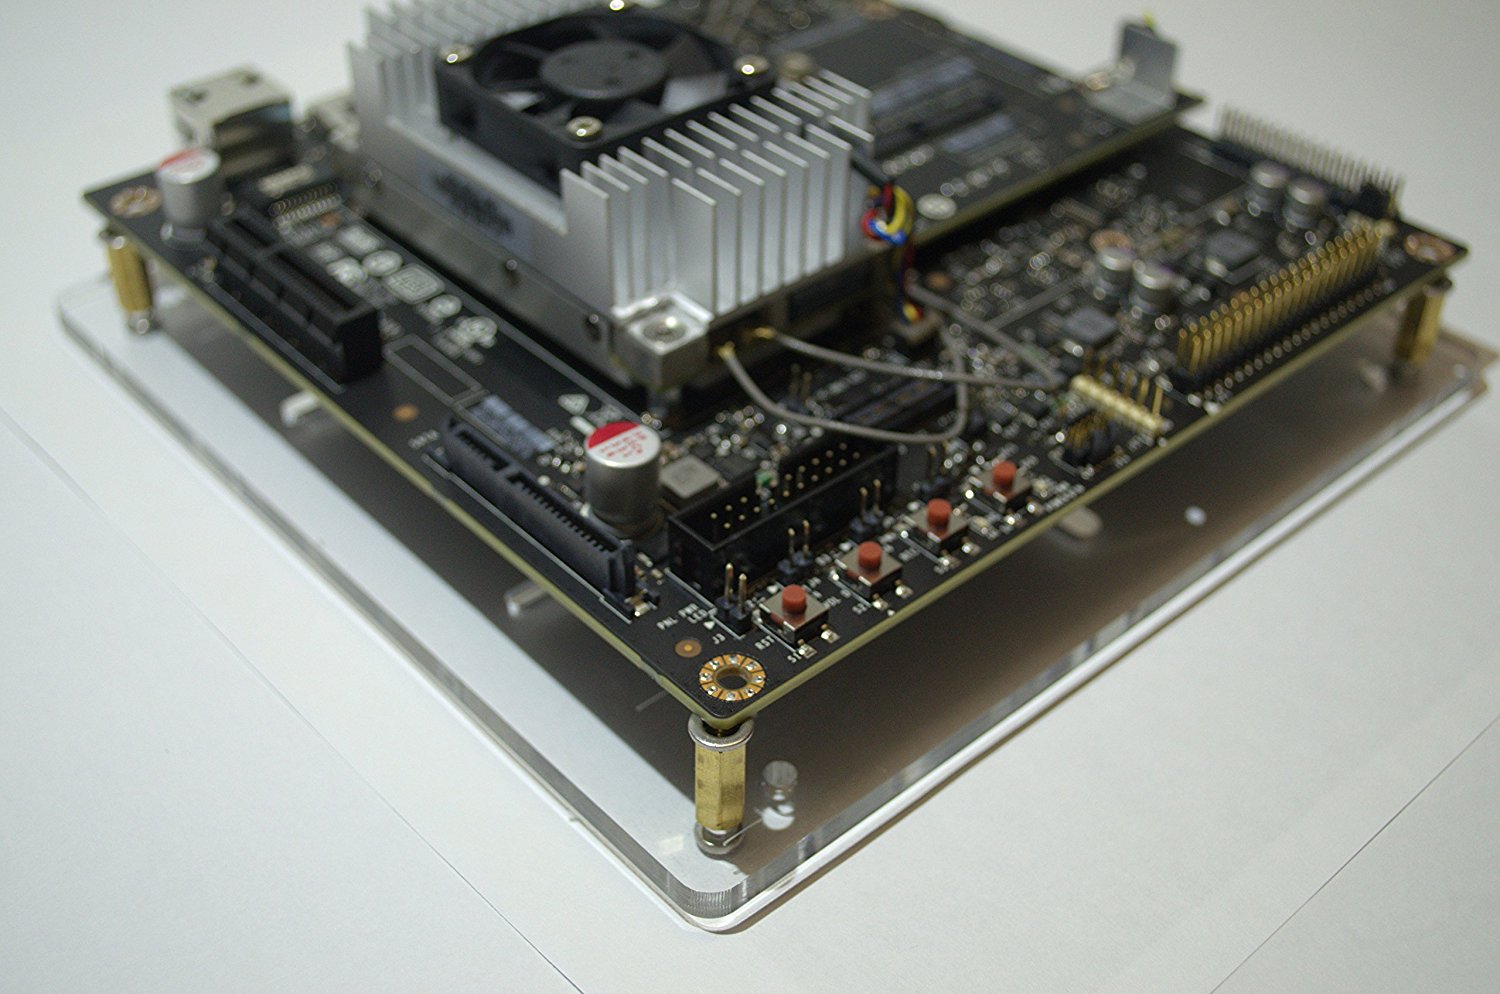
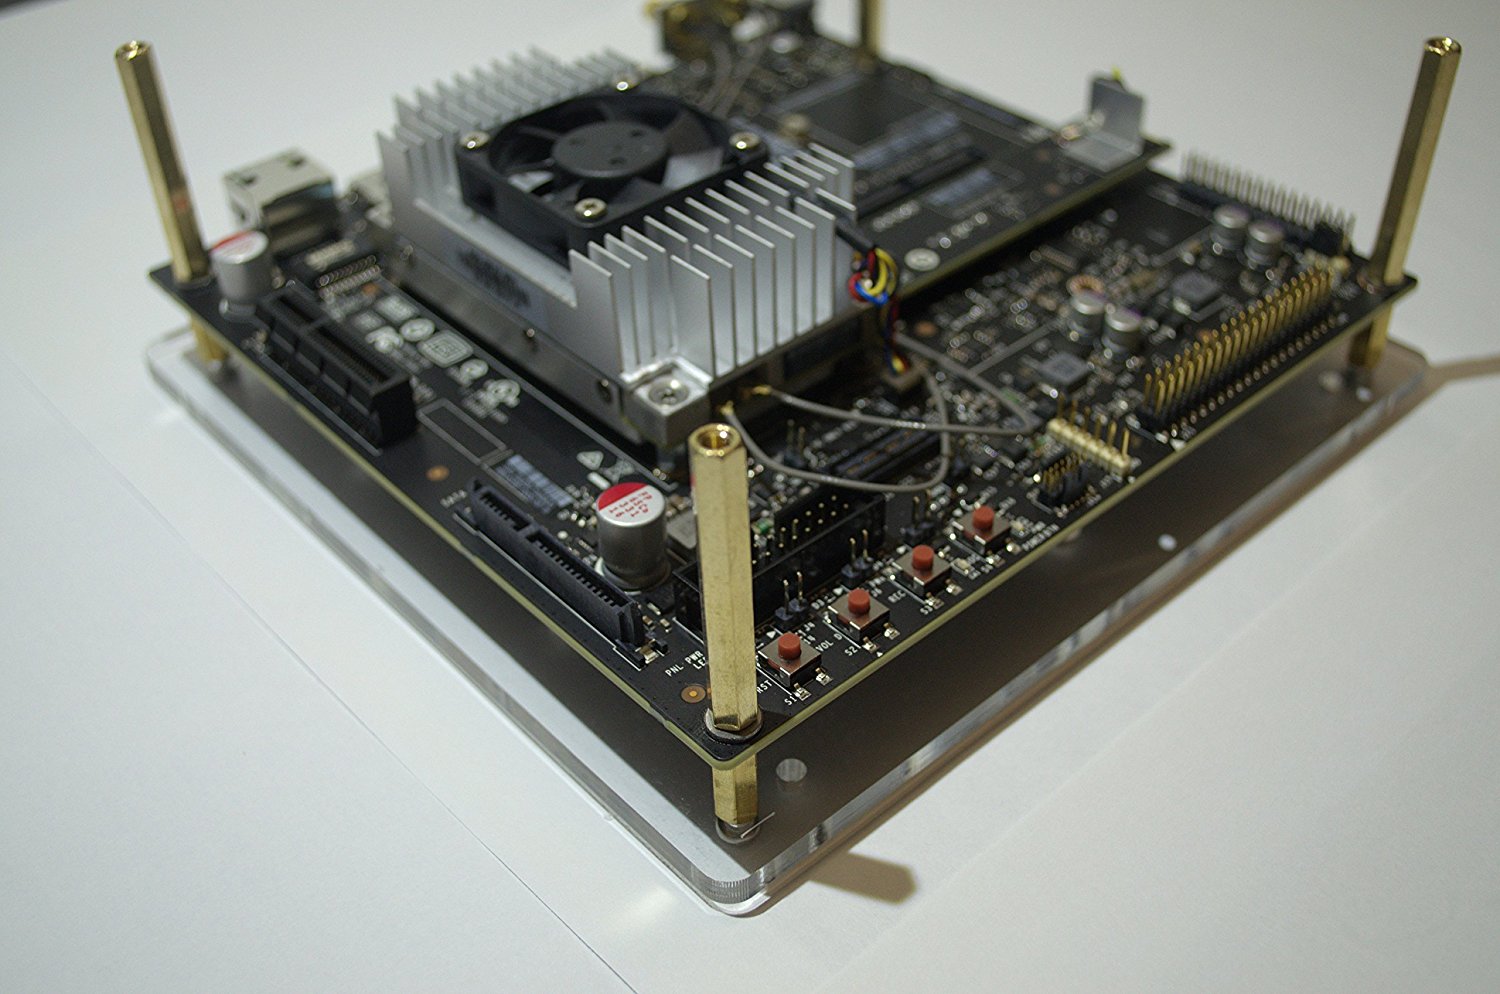
3.2 developer kit
Then, from the top side of the kit, connecting M4 washers -> long cylinders.
You should get:
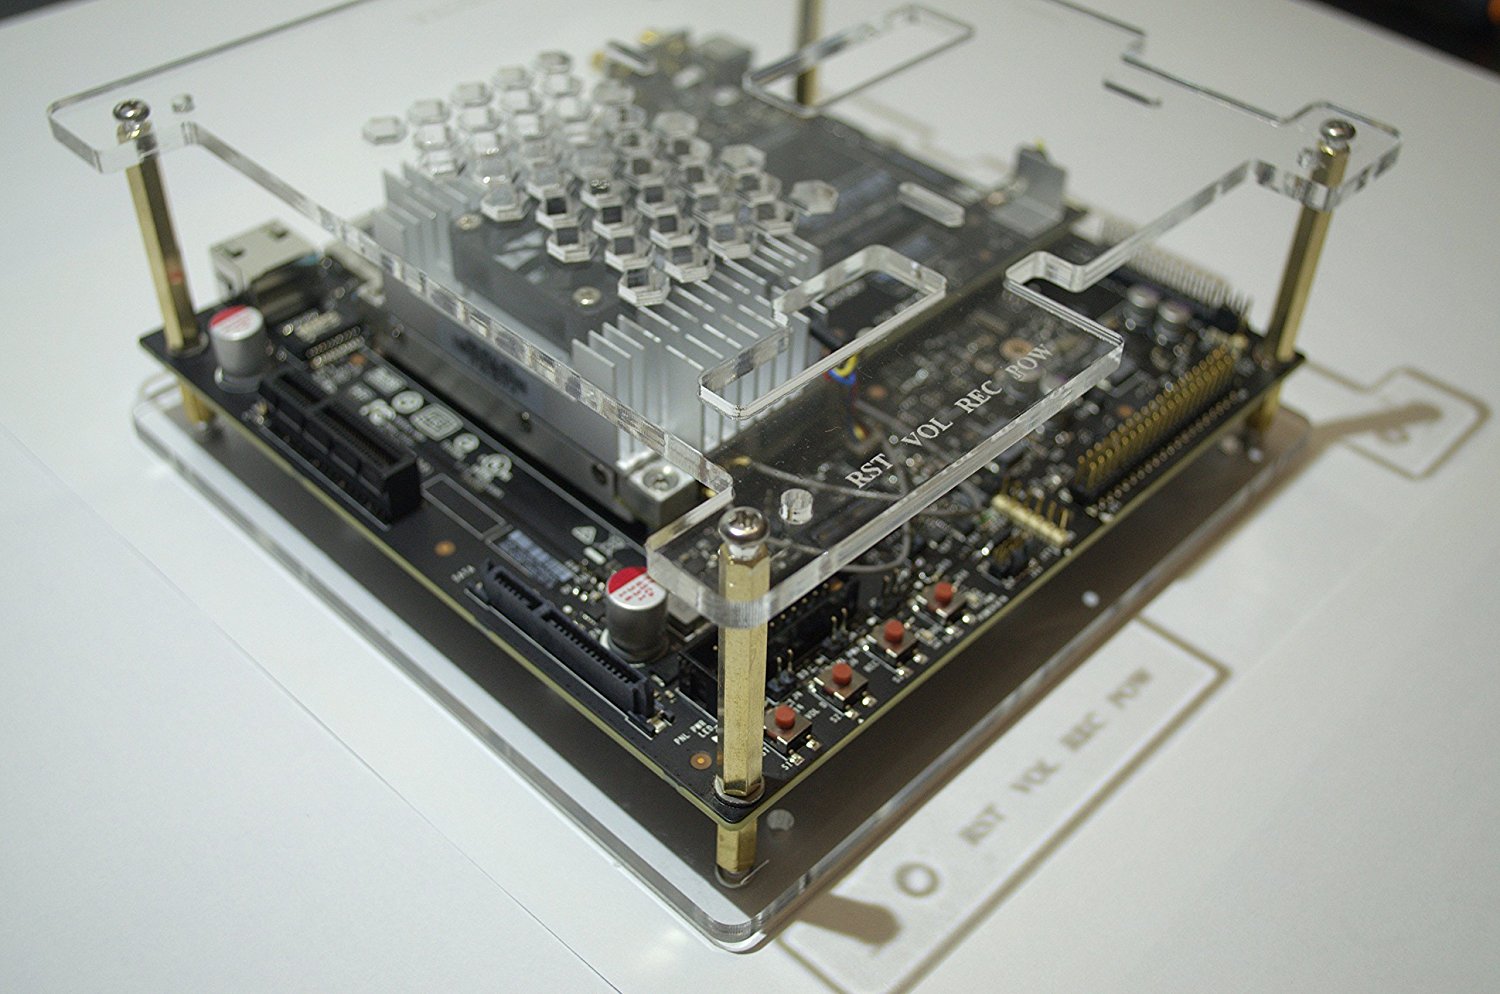
3.3 top plate
At last, placing the top plate on the long cylinders and use M4 screws to secure it.
You should get:
In addition, placing the mats on the bottom of the shell at the position marked with cross.
So, that’s all, we made it !!!
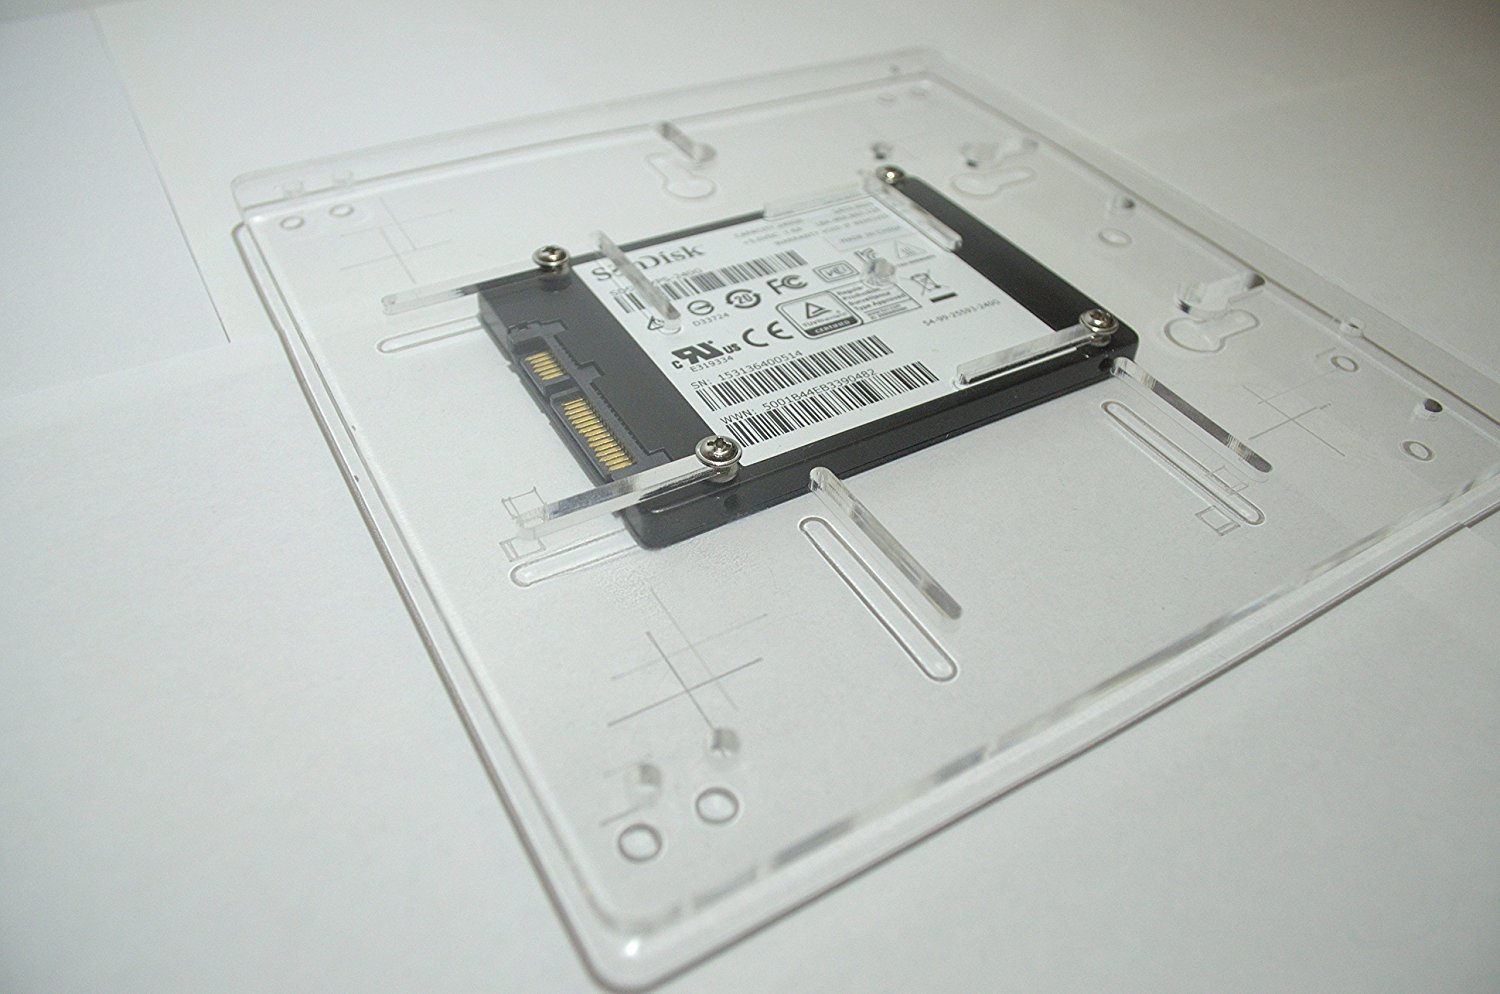
Install Drivers
On the both plates, there are holes marked with disk icon.
Aligning the holes with the top left of the disk driver,
placing a m3 washer between them and use m3 screws to secure the driver,
then you done.
You should get (view from bottom):
Copyrights
All Rights Reserved.
Designed by The Blue in Edinburgh.